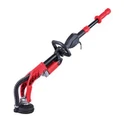
Hey there! I'm a supplier of floor grinders, and I've seen a lot of folks scratching their heads over how to adjust the speed of these machines. It's not as complicated as it might seem at first, so let me break it down for you.
Why Speed Adjustment Matters
First off, you might be wondering why you even need to adjust the speed of a floor grinder. Well, different floor materials and grinding tasks call for different speeds. For instance, if you're working on a soft floor like vinyl, a high - speed setting could damage the surface. On the other hand, when you're dealing with a tough concrete floor, a low - speed setting might not be enough to get the job done efficiently.
Let's say you're using a Self Propelled Concrete Grinder. These machines are great for large - scale concrete floor projects. But if you don't adjust the speed according to the hardness of the concrete and the type of grinding you're doing, you could end up with an uneven finish or even wear out the grinding discs too quickly.
Understanding the Speed Settings
Most modern floor grinders come with multiple speed settings. These settings are usually marked on the control panel of the machine. You might see numbers, letters, or symbols indicating different speed levels. Some machines have a variable speed control, which means you can set the speed to exactly what you need within a certain range.
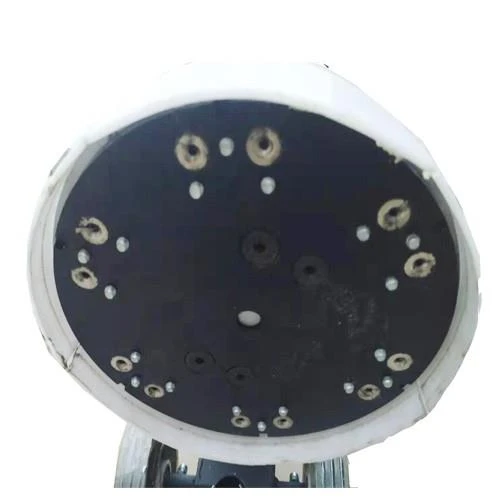

Before you start adjusting the speed, it's important to read the user manual that comes with your floor grinder. The manual will give you specific information about the speed settings and how to use them. It'll also tell you the recommended speed ranges for different floor materials and grinding tasks.
Step - by - Step Guide to Adjusting Speed
- Power Off the Machine: This is a no - brainer, but it's crucial for your safety. Before you start tinkering with the speed settings, make sure the floor grinder is turned off and unplugged.
- Locate the Speed Control: On most floor grinders, the speed control is either a dial or a switch on the control panel. Some machines might have a digital display where you can enter the desired speed.
- Determine the Right Speed: As I mentioned earlier, the right speed depends on the floor material and the grinding task. For a Garage Floor Grinding Machine, if you're just doing a light surface cleaning, a lower speed might be sufficient. But if you're removing a thick coat of paint or epoxy, you'll probably need a higher speed.
- Adjust the Speed: Once you've determined the right speed, use the speed control to set it. If it's a dial, turn it slowly to the desired setting. If it's a switch, move it to the appropriate position. If it's a digital display, enter the speed value.
- Test the Machine: After setting the speed, it's a good idea to test the machine on a small, inconspicuous area of the floor. This will allow you to see if the speed is right. If the grinding seems too slow or too fast, you can make further adjustments.
Factors Affecting Speed Selection
- Floor Material: As I've already emphasized, different floor materials require different speeds. Concrete is a tough material and usually needs a higher speed for effective grinding. Wood, on the other hand, is softer and requires a lower speed to avoid damage.
- Grinding Task: Whether you're grinding for leveling, polishing, or removing coatings also affects the speed. For example, when using a Grinding Concrete Floor Machine for polishing, you'll typically start with a higher speed for the initial grinding and then gradually lower the speed for the final polishing steps.
- Grinding Discs: The type and condition of the grinding discs also play a role. Worn - out discs might require a different speed compared to new ones. Some discs are designed for specific speed ranges, so make sure to check the manufacturer's recommendations.
Troubleshooting Speed Adjustment Issues
Sometimes, you might run into problems when trying to adjust the speed of your floor grinder. Here are some common issues and how to fix them:
- Speed Not Changing: If you're trying to adjust the speed but it's not changing, first check if the machine is properly plugged in and turned on. Then, check if the speed control is damaged. If it is, you might need to replace it.
- Inconsistent Speed: If the speed seems to be fluctuating, it could be due to a loose connection or a problem with the motor. Check all the connections and make sure they're tight. If the problem persists, it's best to call a professional for repair.
Tips for Optimal Speed Adjustment
- Start Slow: When you're using a new floor grinder or working on a new type of floor, it's always a good idea to start with a lower speed and gradually increase it as needed. This will help you avoid making mistakes and getting an uneven finish.
- Keep an Eye on the Grinding Discs: If the grinding discs are overheating or wearing out too quickly, it could be a sign that the speed is too high. Adjust the speed accordingly.
- Take Breaks: Grinding floors can be a long - and - tiring process. Take regular breaks to let the machine cool down, especially if you're using a high - speed setting for an extended period.
Conclusion
Adjusting the speed of a floor grinder is an important skill that can make a big difference in the quality of your floor - grinding projects. By understanding the speed settings, considering the factors that affect speed selection, and following the steps I've outlined, you'll be able to get the most out of your floor grinder.
If you're in the market for a new floor grinder or have any questions about speed adjustment or our products, don't hesitate to reach out. We're here to help you make the right choice and ensure you have a successful floor - grinding experience.
References
- Manufacturer's user manuals for floor grinders
- Industry best practices for floor - grinding operations